By Micah Pinto
Chief Evangelist
As a lean and nimble startup, you understand how valuable video can be at any stage of your startup – whether you need to present to potential investors or you’re ready to market your product – and have thought about making your own DIY explainer video.
We’ve mentioned many times how powerful video can be. And if you need any more convincing, here are 3 quick reasons why explainer videos help your business.
3 Reasons Why Explainer Videos Are Valuable
- An Explainer Video grabs and keeps attention. Creative images and imaginative clips spark interest in your audience and engage them in your video. Finding new, unconventional ways of explaining your product or service result to better audience engagement.
- An Explainer Video simplifies complex topics. Explaining things visually is more effective than text. Animation allows you to relay information in a manner that’s both time-efficient and fun to digest.
- An Explainer Video boosts SEO. When you include interesting video content in your landing page or website, your audience tends to stay in your site longer. This improves your ranking on search engines.
Making Your DIY Explainer Video in 5 Steps
As a startup you may consider creating your own video at a small budget since you have yet to figure out your final product and market fit. Content of DIY videos may be easier to tweak and update as your product is refined. The following are basic steps in creating your own explainer video.
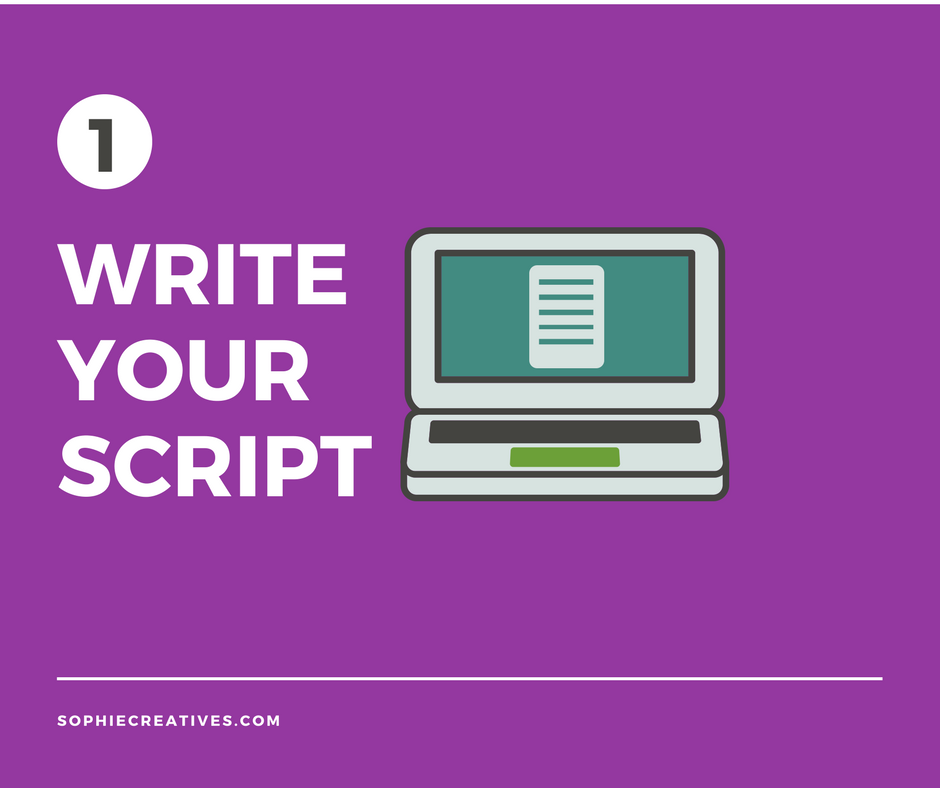
1. Write your script.
You want to be writing something that’s catchy, understandable, and engaging. An explainer video, especially one that’s placed on a landing page, should be able to capture the audiences’ attention during the first 10 seconds of the video. You should write in a manner that can be easily understood by your audience. You should also use stories that are relatable to your market. Always remember, you want to keep them interested and engaged.
One of the simplest yet most effective writing styles for explainer videos is the problem-solution script format. It breaks down your script into only three main parts. First, you have to state a common problem that your target market faces. Then, clearly explain and share how your company can provide solutions. Lastly, present a call to action. Be clear with what you want the audiences to do after watching your video. Do you want them inquire, visit your online store, immediately send in a purchase order?
It helps to end the entire video with your company name and your tagline. Just so your company and your offer stick to your audience. Remember to keep your script short, clear and simple. An effective explainer video averages between 60 to 90 seconds. That’s roughly a maximum of 150 words per minute.

2. Record your narration.
The accompanying narration of your visuals matter a great deal. You should consider the personality of your voice over. Do you want your script to be read softly or loudly on some parts? Do you want it to be read with a female or a male voice? Do you want your voice over to read with high energy or gracefully? Regardless of what persona your voice over takes, be sure to have it read clearly, and with words enunciated well.
Look for a noise-free, echo-free environment where you can record your voice over. Use a decent microphone. Smart phones or built-in computer microphones may work well but you can also opt to use a recording microphone. You can edit your recordings later on using simple audio software like Audacity, a free, open-source audio editing software. Most startups are technically skilled, so definitely you can try your hand but expect a slight learning curve with Adobe Audition, what we use for our voice over editing.
You can also consider getting someone else to record your narration for you. If you have a small budget for your voice over, you can try searching for voice talents on Fiverr where some voice over artists with professional skills and equipment offer their services at $5 for every 50 words.

3. Create your storyboard.
Think up of ideas and visuals for your story. Create an image guide of how you want each particular scene to look. Rough sketches and doodles are often enough to come up with a storyboard scene. You can also ask help from someone you know can draw by hand and have their drawings scanned. If you want a more professional approach, you can use some online stock photos, screen captures, Adobe Illustrator to create your illustrations, or Photoshop to create some graphics.

4. Create your moving visuals.
There are different video types that you can work around with: Whiteboard, Screencast, Live Action, Animation. If you’re creating a whiteboard explainer video, all you need is a whiteboard, a pen or some drawing materials, an eraser and a camera. And you’re set to record your hand-drawn images that follow your script and storyboard, on your camera’s time-lapse function.
For a screencast video, all you need is screen recording software that basically records your computer screen activity into a video. Here at SophieCreatives we use Camtasia for screen recording, it’s easy to use, reliable and produces nice results.
A live action video, on the other hand, can be more complex. At the most basic, you will need a good camera, lighting, and setup, and depending on how you envisioned your video, you might need to look for actors, a decent location, good production setup, and a team who can handle all that. And the list grows as your video requirement elevates to a higher standard. Depending on your technical and creative skills, you can also pull it off with just your smart phone to shoot your video content.
If you decide to create an animated explainer video, there are some sites that you can use that provide templates, pre-made animated scenes and characters. You might want to check out: Animoto, PowToon, Animaker, GoAnimate and Biteable. Each one makes it easy enough to use their online service and there’s a lot of help available on how to use their site. Unwatermarked videos created in these sites charge certain fees but it will not break the bank.
There’s a steep learning curve to creating your own animation, we wouldn’t recommend it if there’s nobody experienced enough to do it on your team. It may be better to stick with the sites mentioned than use up a lot of your hours trying to produce your own, or it might be better to hire somebody to do it.

5. Produce your video.
After you’re done shooting, recording, or creating your animation, you are now ready to bring all the different video elements together. At this step you tie everything together— video footage, animation, screen recordings, voice over, music and sound effects. You will be doing a lot of fine tuning at this stage, and you will need to revisit your storyboard to guide you as you bring your vision to life.
For music tracks and sound effects, you can check out Audio Jungle, Premium Beat, Audio Blocks. To edit your video, you will need Adobe Premiere or any standard video editing tool that came with your computer, like iMovie.
If you’re planning to host your video on sites like YouTube, you should export your video in MP4 format ideally in HD size which at the minimum is 1280×720. You can check your hosting site for its recommended settings.
What’s Next for Your Video?
After you’ve successfully produced a DIY explainer video, you are now ready to publish! You can upload your video on YouTube, Vimeo, or Wistia. Be sure to add a good title, a clear description, and the appropriate tags and keywords so that more people can find your video easily. After you’ve uploaded the video, you can now get the embed code and make it available on your site.
It doesn’t stop there though. A lot of businesses have created videos only to find out that not a lot of people watch it. This is because they stop at uploading their videos and don’t follow up with marketing their videos. Any business should use social media to share their videos and engage people with it. You can also ask your team to share it in their own social media channels so that it gets a lot more views and engagement. It’s one of the best and free ways you can market your video, and in turn, your product. There’s certainly a lot more to be done in terms of video marketing, but social media can be your first step and go-to. Video in email marketing has also been proven to increase email open rates, and if you already have a good network of people, it may pay off to share your startup video through email.
As you have deduced, producing a video and marketing it is a lot of work. There are a number of reasons to do it yourself, and if you have the right resources available at your disposal, you can certainly try and be successful in doing it on your own. For some, production can be harder to manage and without the right resources and skills within your startup team, you would be better off to let the professionals do it instead of running into the headache of production. Depending on the style, there are a number of professional firms you can hire to create a video for your company. Animated explainer videos can be outsourced from explainer video specialists like us, SophieCreatives.
After some time that your video is live, you will be able to measure audience engagement through data available on YouTube Insight or Google Analytics. Other than direct feedback on your startup video, looking at data insights can provide you with good input if you need to tweak anything about your video.